01 Jun 2024
Learning to Draw: Week 1
In which I learn about the importance of slowing down a bit and the magic of shading.
The latest project I’ve been inspired to start on is teaching myself some basic drawing skills. There’s a a lot of things I want to be able to do (make a video game, illustrate certain aspects of my D&D game, etc.) that would be easier if I had the ability to make some not-completely-terrible artwork. I’m not trying to become a professional or anything – I just want to be able to get the idea across in a way that isn’t completely offensive to the eye.
The Action Plan
In my mind, there are two main things you have to do to get better:
- Practice a lot
- Learn about all the theory behind things like perspective and colors and anatomy and all that jazz, and
Practice is obviously necessary – you can read all you want, but your ability to actually execute a drawing isn’t going to get better unless you start making some drawings. The theory part may not be strictly necessary; probably plenty of people make reasonably good art without any sort book (or youtube or whatever) learning. But I feel like learning lessons from other people is bound to be way more efficient than just kind of figuring it out for yourself through experimentation, so that’s the route we’re going to take.
To actually put this into practice, I will be doing a few different things:
- Two different structured courses: Drawabox and Grant Abbitt’s Complete Drawing Course
- Intentional practice: Mostly doing studies from real life photographs, starting with rocks and tree-roots
- Free drawing: Just practice drawing what I eventually want to be able to draw.
This list isn’t optimized based on the advice of any expert or anything – it’s just what I threw together browsing the internet. The drawabox course seems to come relatively highly recommended in various communities and is completely free if you aren’t seeking feedback from the “course staff”. I found Grant Abbitt’s course after stumbling across his channel on youtube, and he seemed to be a lot less opinionated about how to approach his course than drawabox, so I figured it would be a good complement (and will hopefully help to keep me motivated if drawabox gets a little grindy).
The intentional practice plan was inspired by the FZDSCHOOL youtube channel, especially episodes 89 and 101. Allegedly rocks and tree roots are a good starting point because you don’t have to be too precise to make them look okay.
And finally, the free drawing is partially to keep me interested. But also, drawabox specifically recommends doing 50% free drawing and 50% structured coursework and studies, arguing that most people have had a fear of failure beaten into them by the traditional educational system and that it’s important to develop the ability to appreciate time you spend just playing around and experimenting, even if it doesn’t result in something good. I’m relatively confident in my ability to do that, so I’ll probably lean more towards a 33%/33%/33% approach, at least in the beginning. I think the experimenting on your own is definitely extremely valuable even early in the process of learning, but I think my current skill level is low enough that I’ll benefit more from a bit more structured practice early on.
Now that I’ve talked about the plan of action, we’re going to jump into what I’ve actually done in the first week (or more accurately the first week and a half).
Drawabox
Working through the drawabox content was not actual in my original “learn to draw” gameplan. I’ve actually started this course a few times, and never made it very far. Part of that was just me getting distracted by other interests, but part of it was how dogmatic the course was. I also kind of hated using the fineliners that are highly recommended (and in fact required if you’re submitting your homeowork for feedback); I tried a couple of different brands and just couldn’t get them to consistently work for me.
However, when I started this new initiative, I was doing a couple of the early drawabox exercises as warmups. And when I went to go look up the details of one of these warmups, I ended up rereading more of the lessons. It turns out, I’m enjoying it a lot more this go-around. I’m not sure if the course materials were updated in a way that is more palatable to me or if my current mindset is just different than it was a few years ago, but I’m a lot more on board. I also had better luck with the fineliners when I stopped trying to draw in a sketchbook and started drawing on printer paper as recommended. (Slowing down a bit also helped with this, but more on that below.)
These are a couple of my warmups from the period where I wasn’t really planning on doing drawabox:

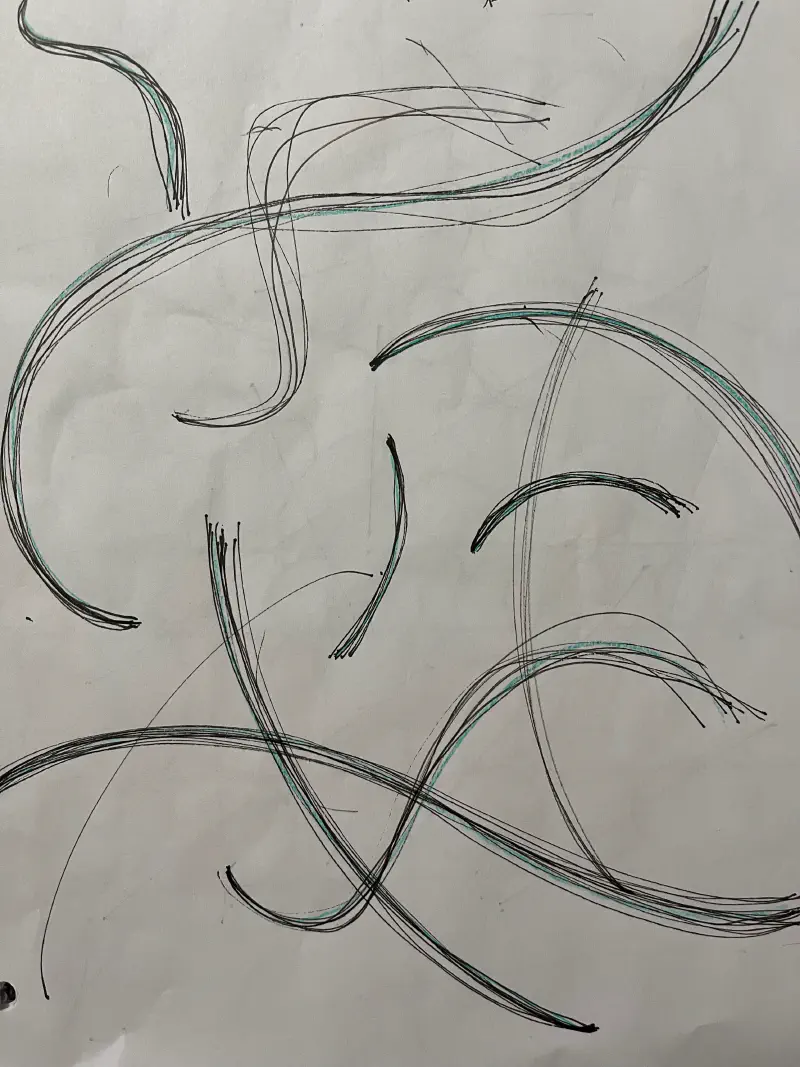
They are mostly a weird combination of the superimposed lines and ghosted lines exercises that I was attempting to replicate based on what I remembered from attempting the course a few years ago. The main thing I remembered when I started these was that you should:
- Be confident with your marks - once your pen actually touches the paper you shouldn’t hesitate and should just finish the mark.
- Your end goal should be accuracy, although that won’t come immediately. Some fraying at the target side of your lines is acceptable.
As you can see, my accuracy is not very good at all. There is a lot of fraying at the ends, and even throughout the middle of these curves. However, that actually improved noticeably when I finally made the connection that “confident” didn’t have to mean “fast”. My memory of my first attempts at the drawabox course as well as other tutorials I had seen online seemed to emphasize quick, confident lines in an effort to avoid the common beginner mistake of unsteady, wavering lines. However I was taking it way too fast, and it was affecting my ability to be even remotely accurate and seemed to be preventing the fineliners from working very well. I discovered that the real key was not the speed (although going way too slow is definitely bad), but the commitment. You can go slow, but you shouldn’t be trying to correct your trajectory once you put the pen on the paper. Once I started slowing down just a little bit, my fraying at the second endpoint improved a bit.
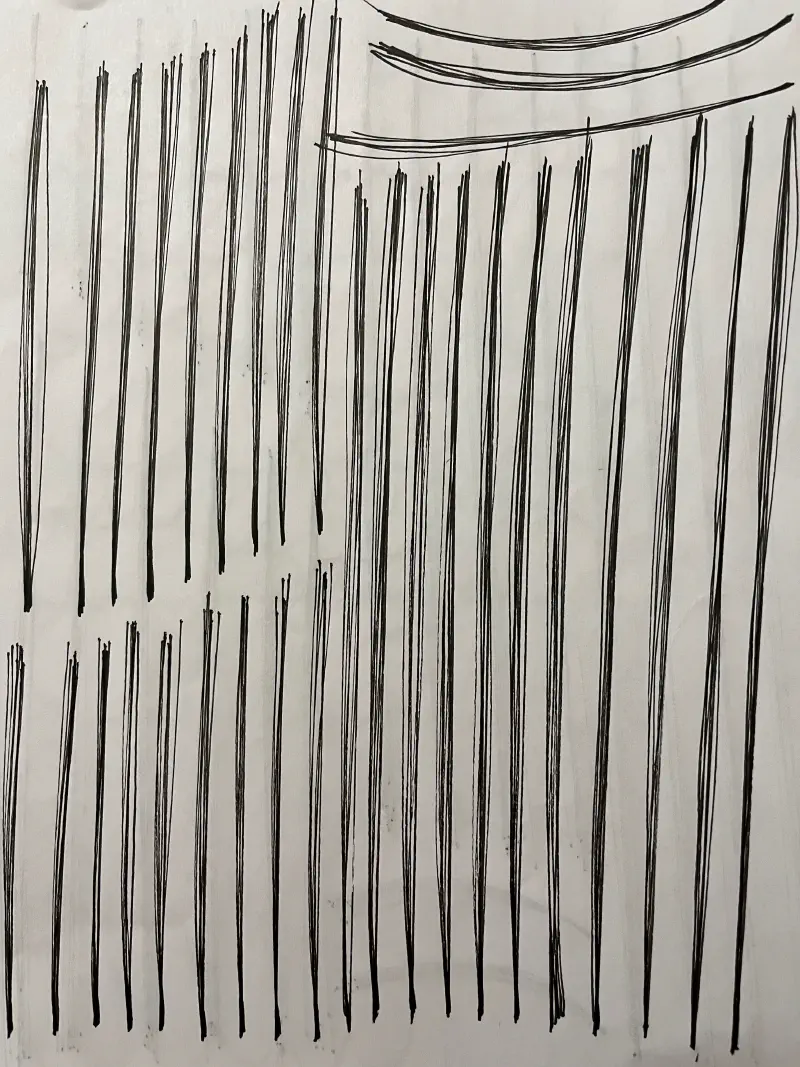
Of course, after actually deciding to go back and actually re-read the drawabox material and do it correctly, I realized the current version of the course material actually talks about this too. In the lesson 1 ellipses video, Uncertain says “Executing your marks confidently doesn’t mean as fast as you can. It just means that you’re drawing with the sense that you’re always pushing yourself forward, not hesitating or trying to steer things with your eyes.” That pretty much exactly captures what I sort of stumbled into on my own.
Grant Abbitt’s Course
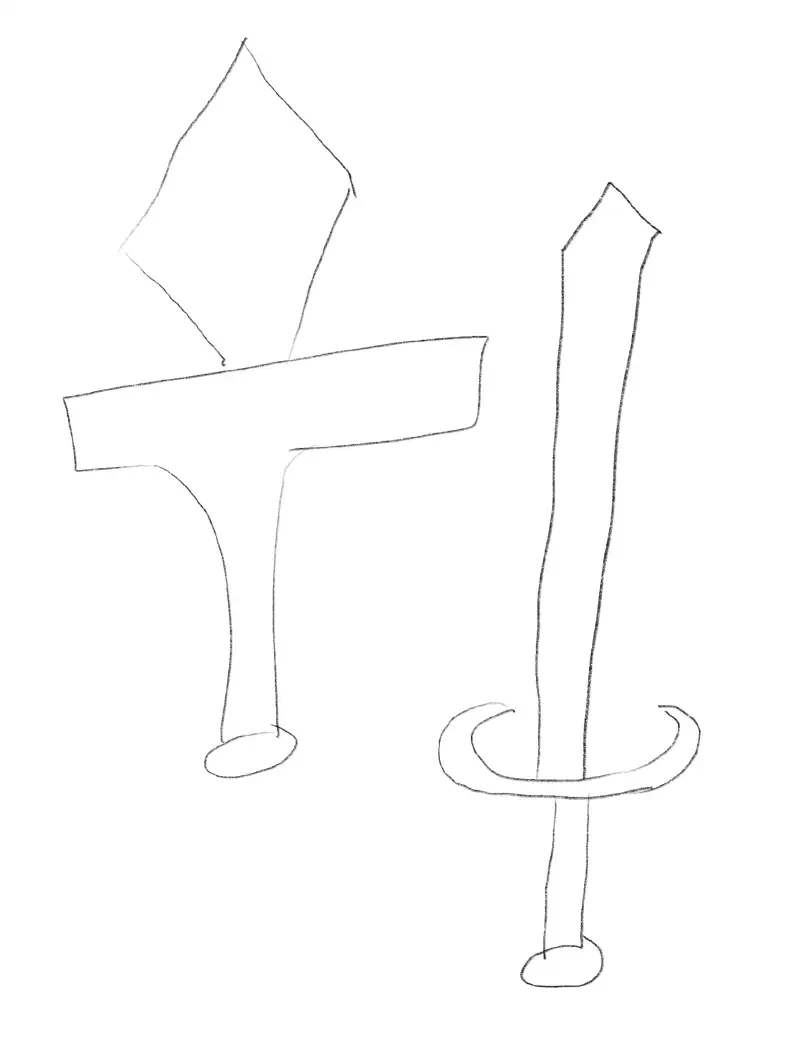
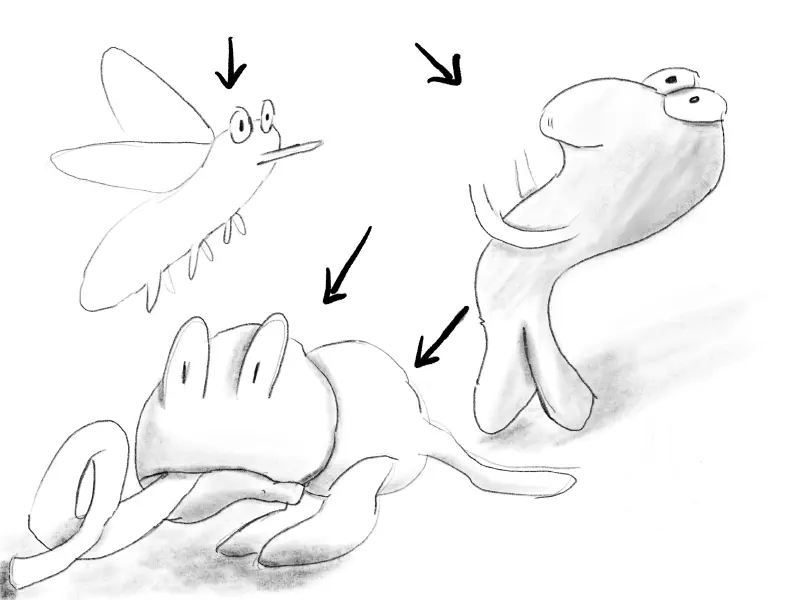
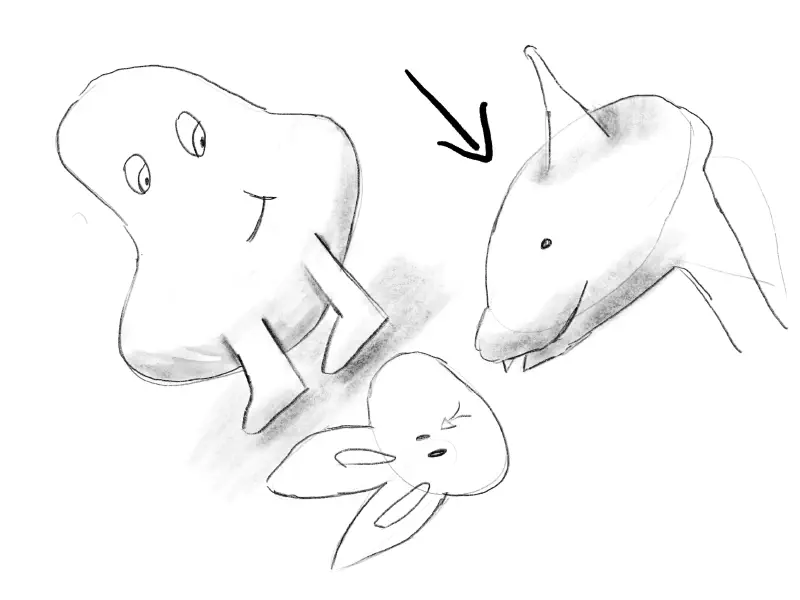
I was able to work through the first handful of exercises in Grant Abbitt’s course as well. I started with drawing quite a few really bad swords, and a couple of slightly better axes.
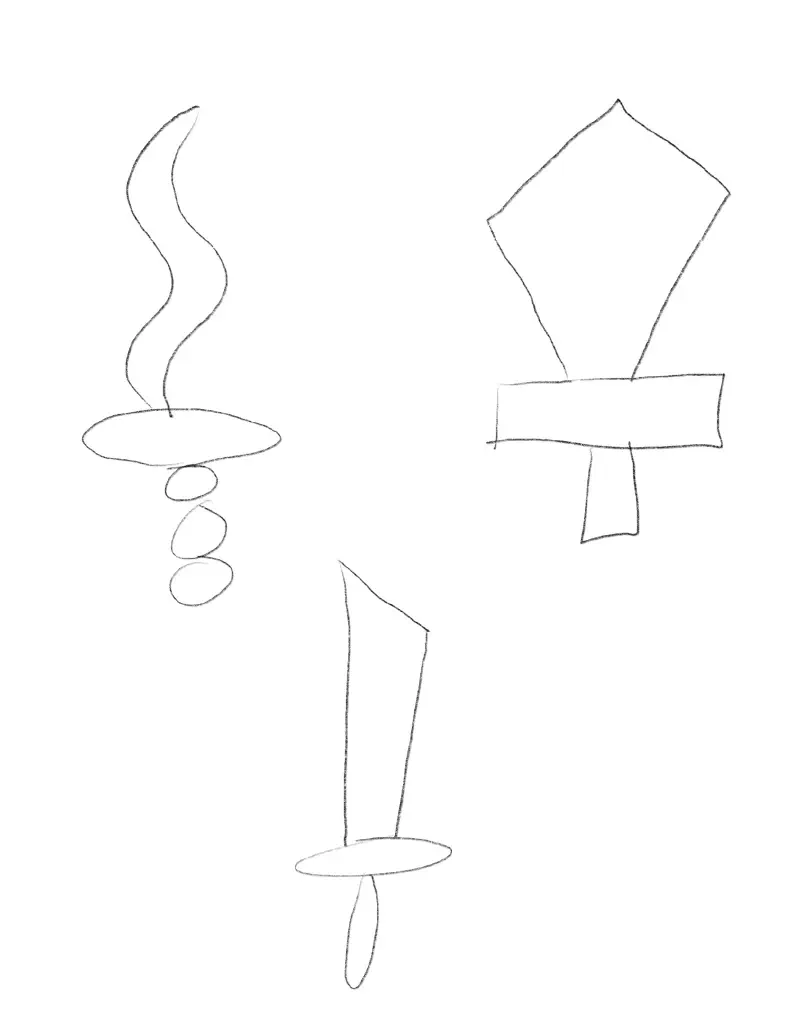
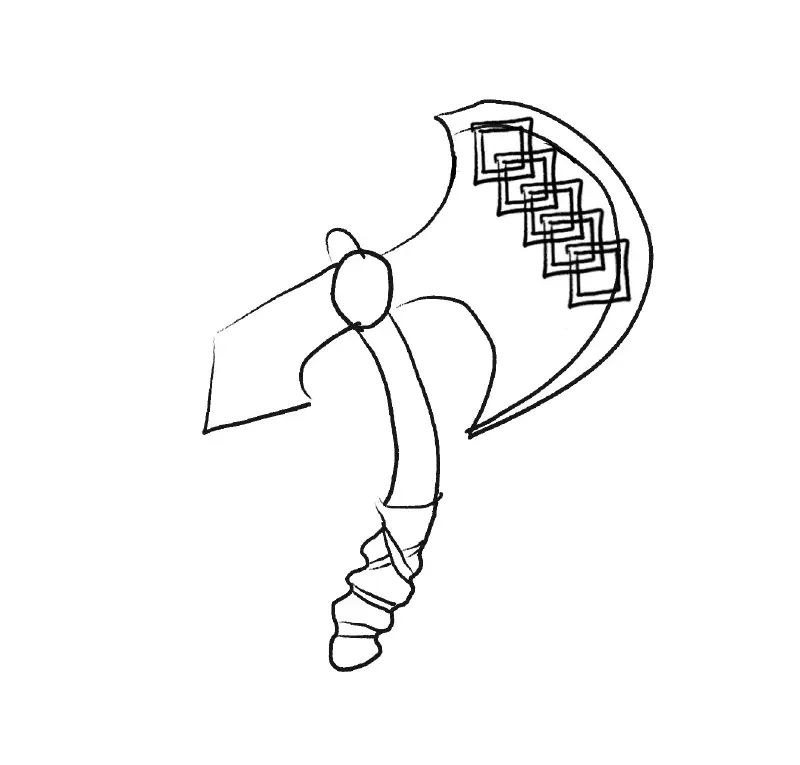
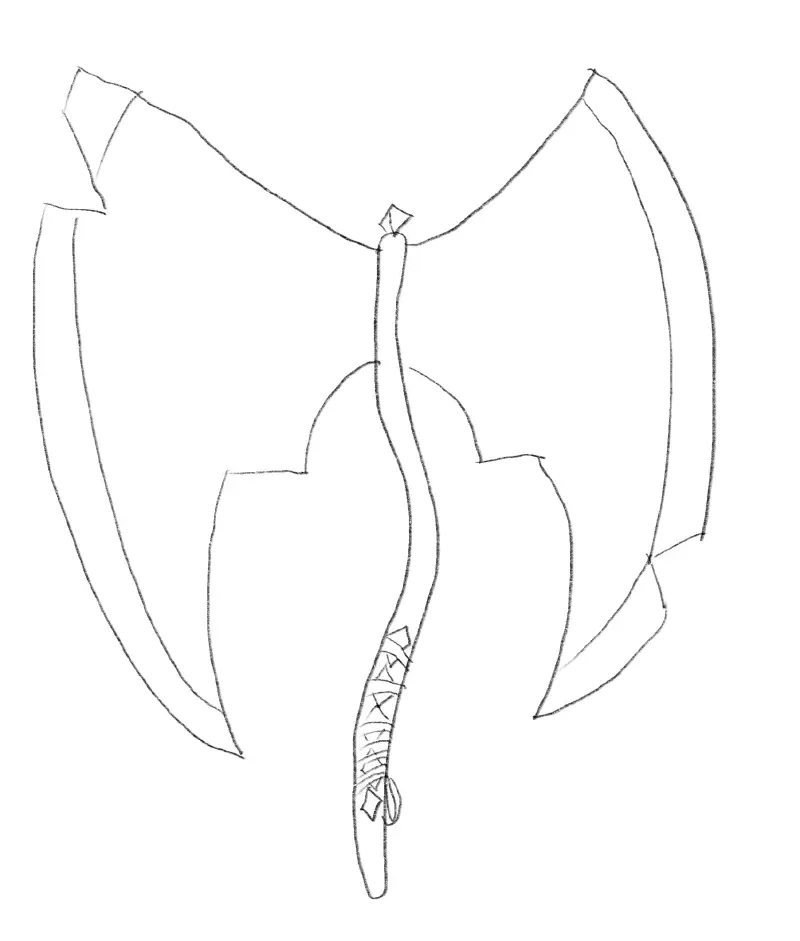
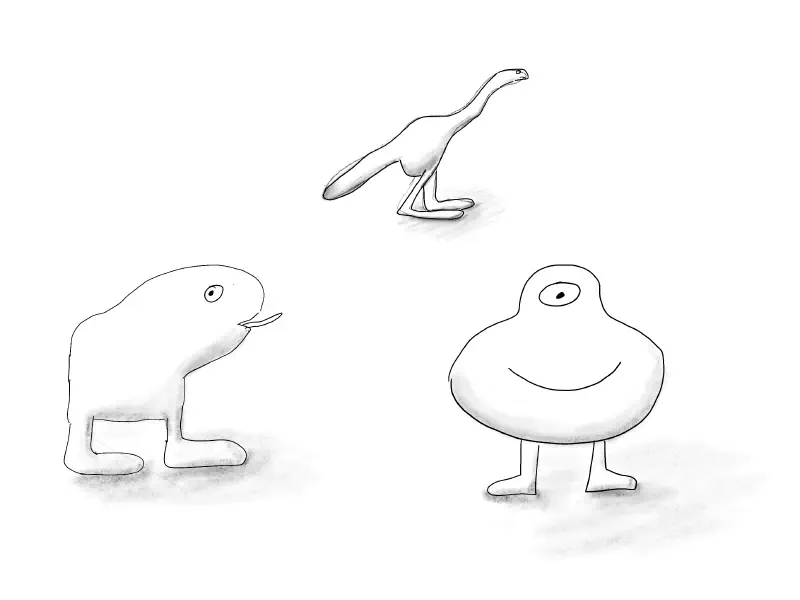
Probably the most interesting lesson for me, however, was the “Monster Madness” lesson. My main takeaway from this is how impactful shading is. My shading isn’t very good on most of these sketches, but it still adds a ton of dimension to these little monsters in a way that is pretty impressive in my opinion.
Structured Practice
For my structured practice, I picked out a couple different pictures of rocks (rock 1, rock 2) and tried to sketch them.
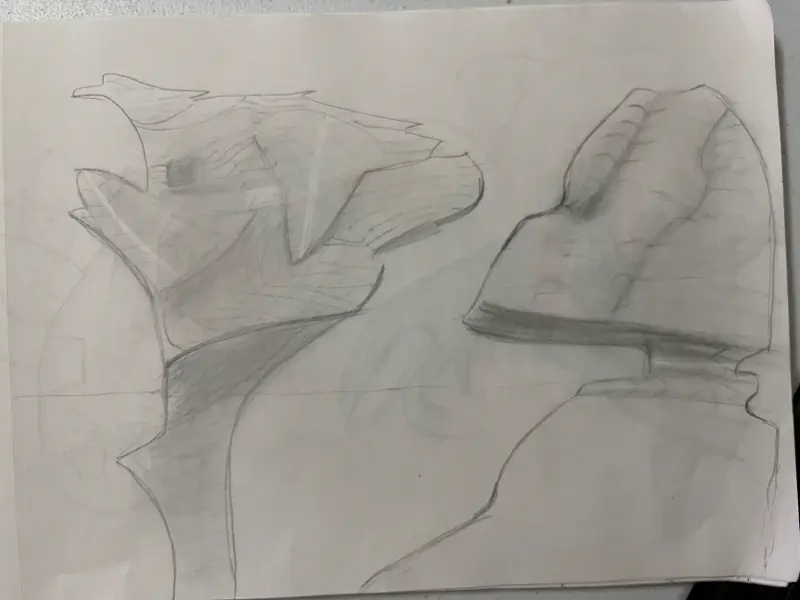
I then found a couple of other people online who sketched the same exact rocks (rock 1, rock 2). I tried to replicate their sketches.

Finally I took what I learned from the second exercise, and tried to sketch one of the same rocks a third time, but using the real photograph as the reference again.
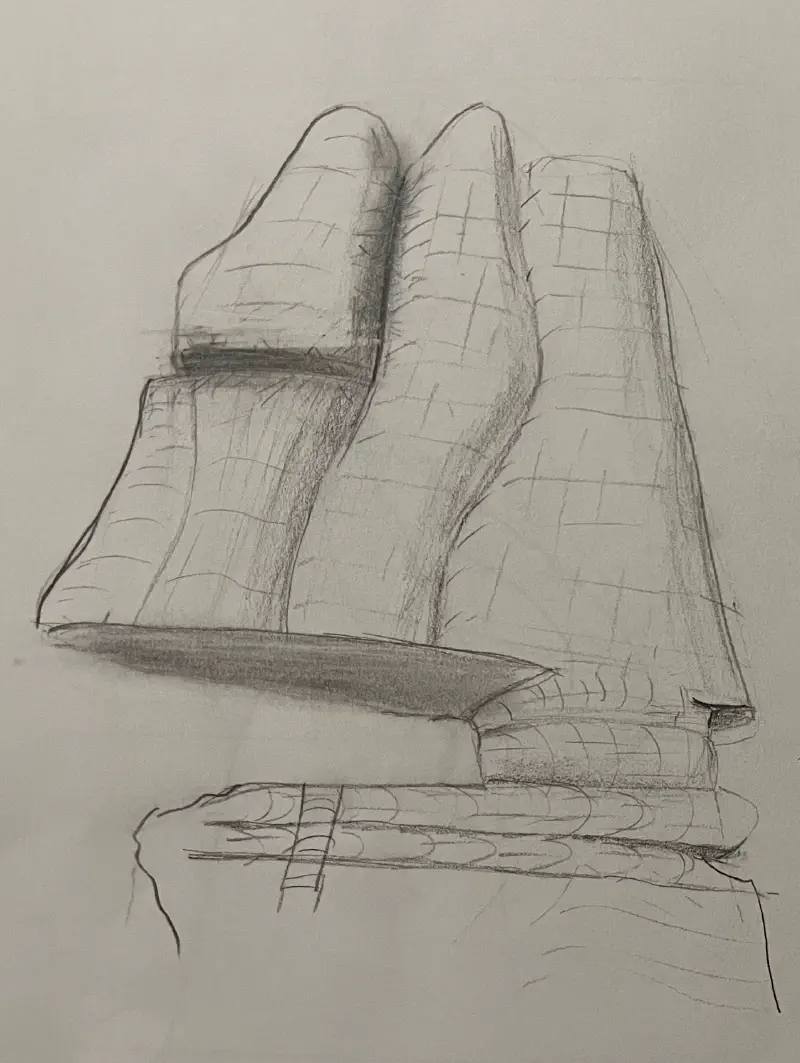
My main takeaways from this was that I really should be drawing each individual rock in the larger rock structure and trying to capture how they fit together rather than drawing the overall outline for the whole structure and then just trying to separate all the little pieces after the fact. Also, you really can just draw most of the internal lines that you see in the photograph and they can be pretty dark and thick – my first drawings basically had none of these because I kept trying to draw them too lightly and they weren’t really adding much.
I also think that drawing other people’s sketches helped me figure out how the contour lines should work a little bit better. A lot of short, sketchy lines seem to look better than the really long ones stretching across the whole formation that I tried in my first drawings.
In addition to drawings of rocks, I also made a few attempts to draw a few other things from references: some pokemon, a real-life beanie baby iguana that I happen to have in my house, and a random anime character that I found online.
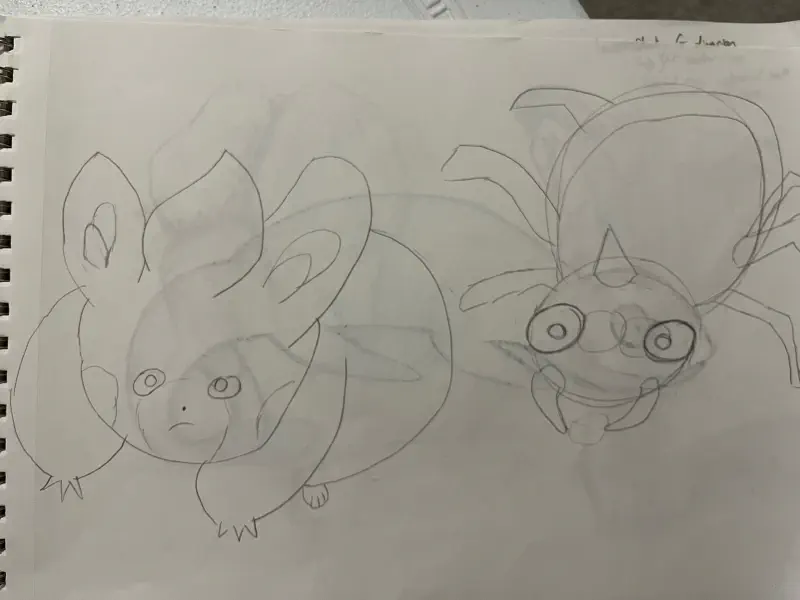
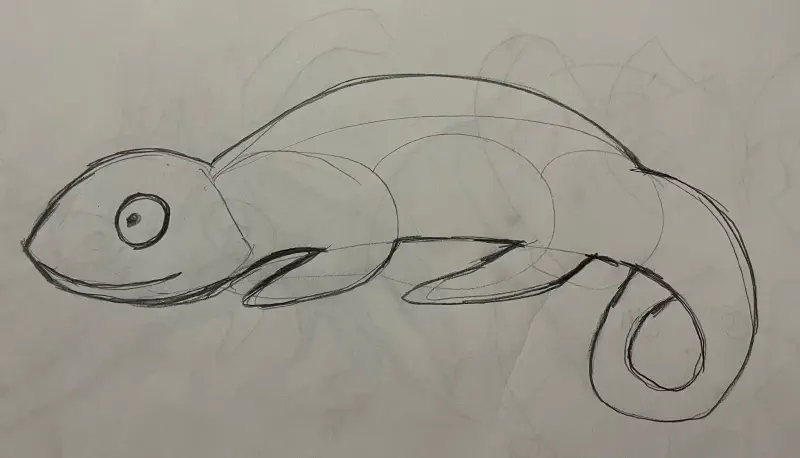
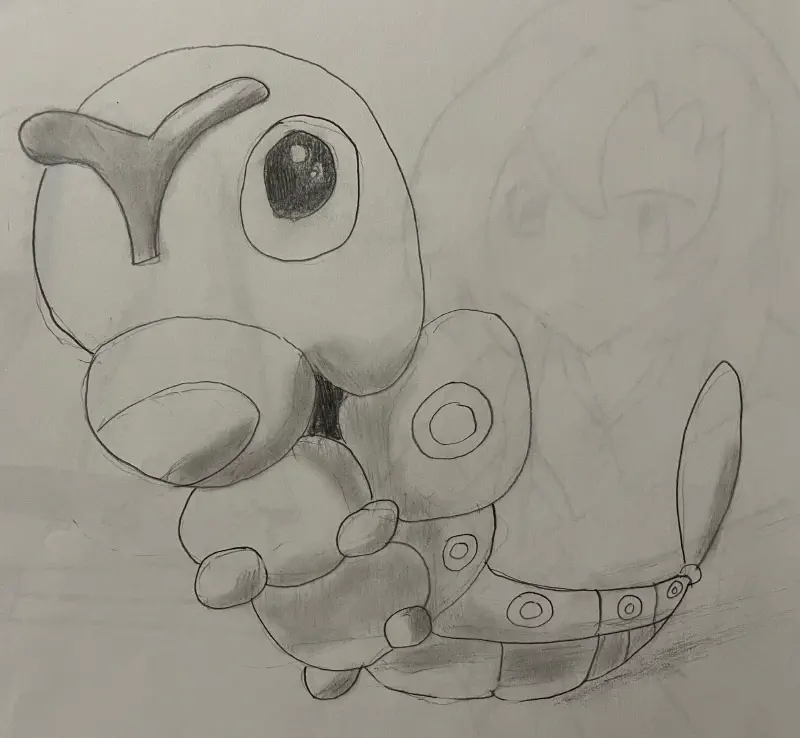
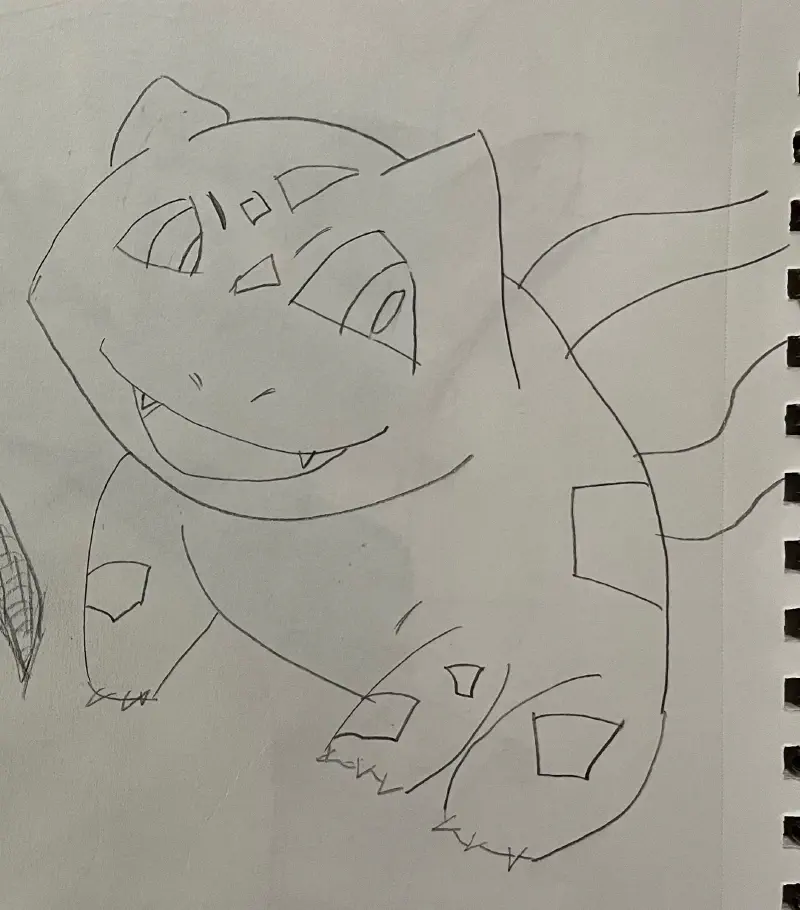
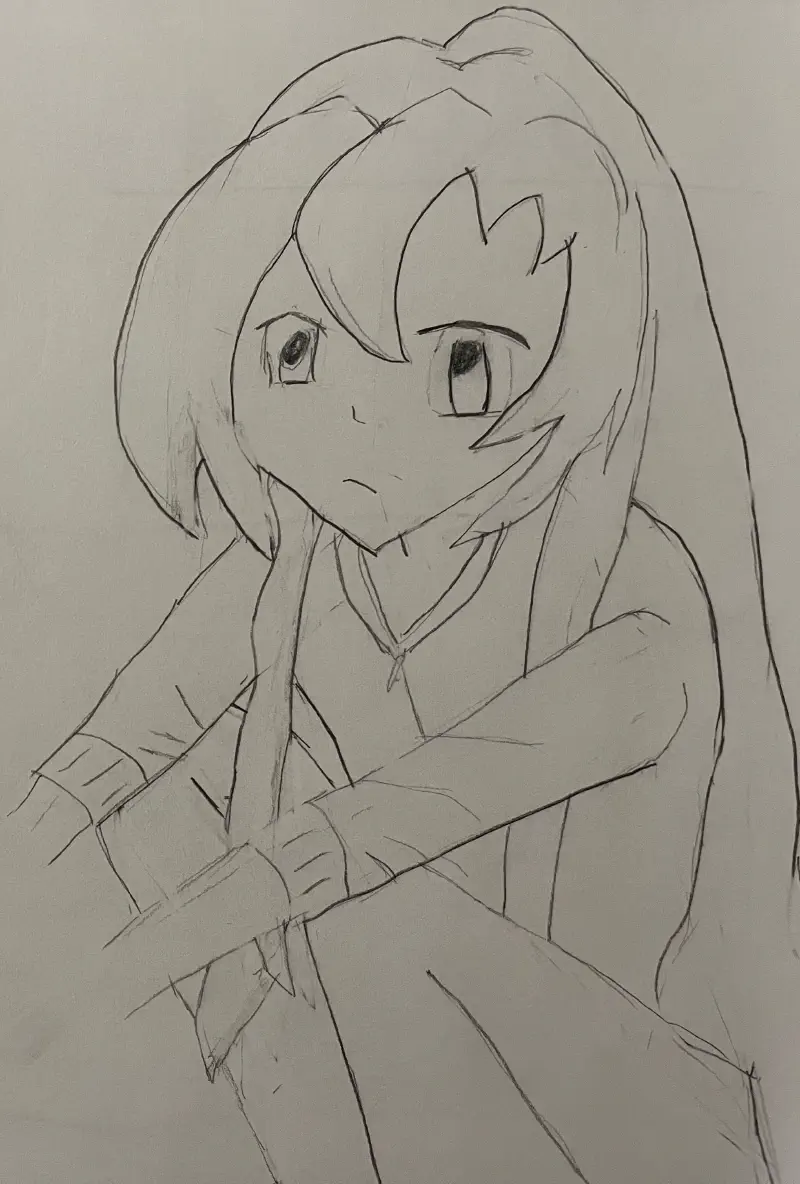
My main takeaway from these studies was how important it is to take your time and try to measure out the proportions. My first couple of pokemon were definitely distorted, but once I started lightly sketching out how big everything else is when compared to the head, the drawings looked a lot less skewed.
Free Drawing
I made two drawings this week that were just for fun and not based on any references or anything. The first was just a random, anime style woman – I had no particular end goal in mind I kind of made choices as I went. The second was a tiefling child that might eventually show up in the D&D campaign that I am running.
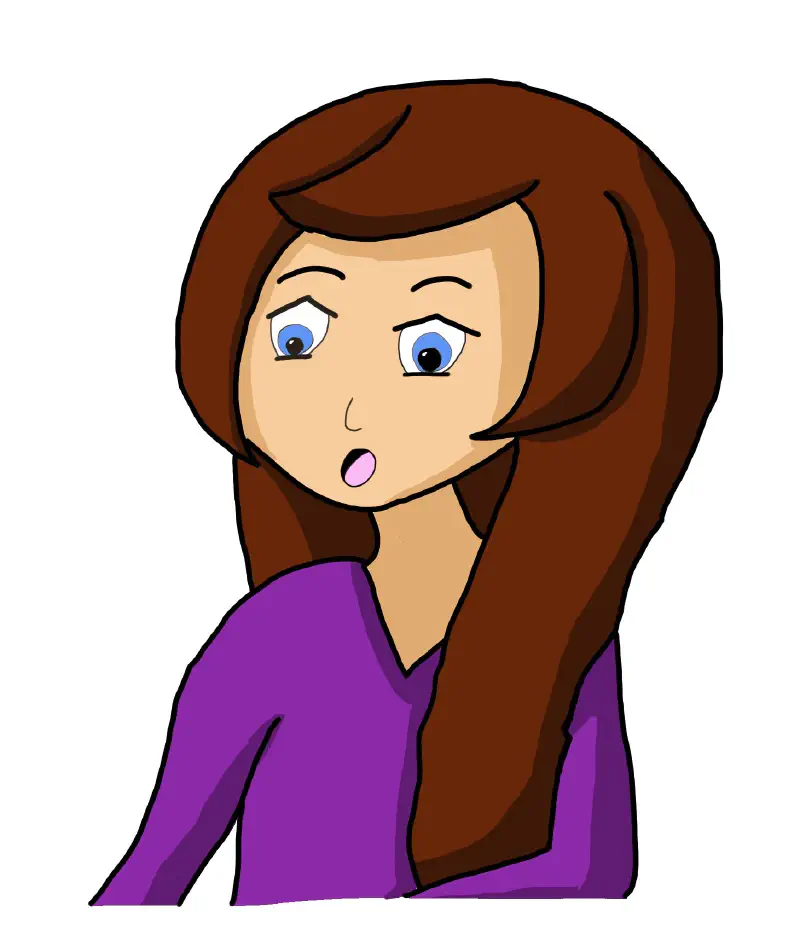
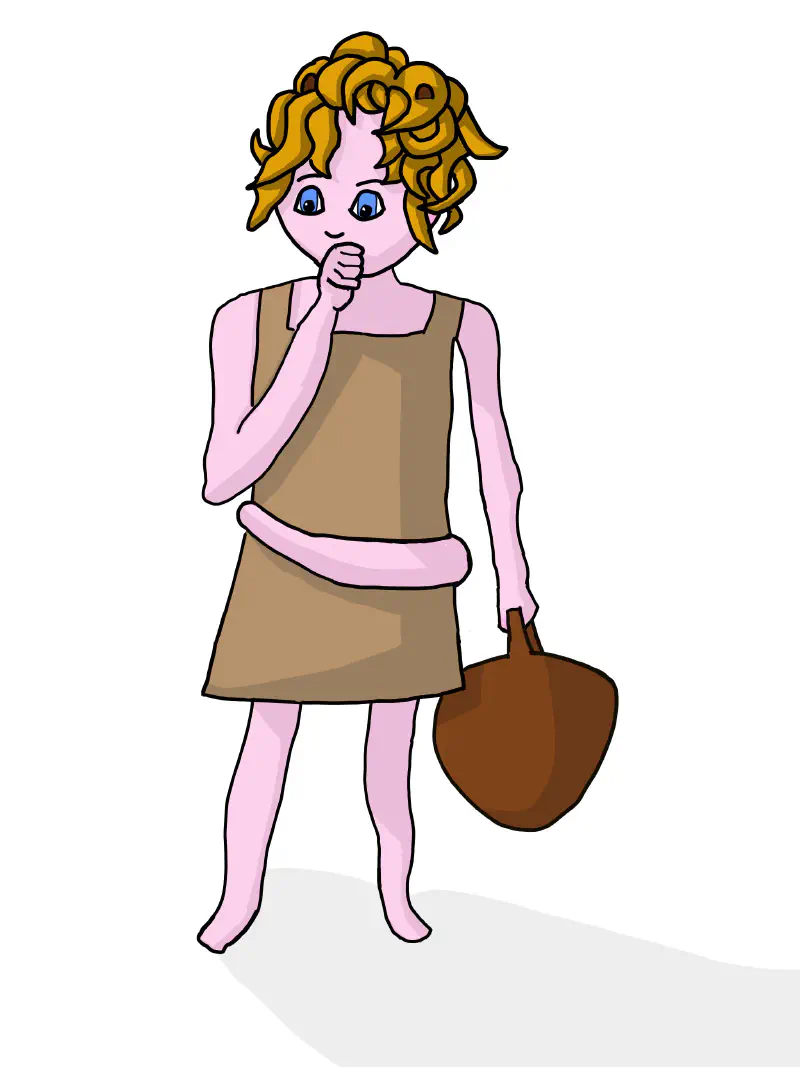
Probably objectively, these aren’t very good, but they are still way better than I thought I would be able to do. They definitely reinforce the idea that just adding some basic shadows makes your drawing significantly better.
Based on these drawings, I would really like to spend some time working on eyes this coming week. I’m pretty sure this is something everyone struggles with, but they’re pretty complicated and are arguably the most important way to convey the personality and emotions of your characters.
In addition, I think both characters, but especially the tiefling character, could have benefited a lot from adding a little bit of texture and folding to the clothing. That’s something I’m also probably going to try practicing next week.
